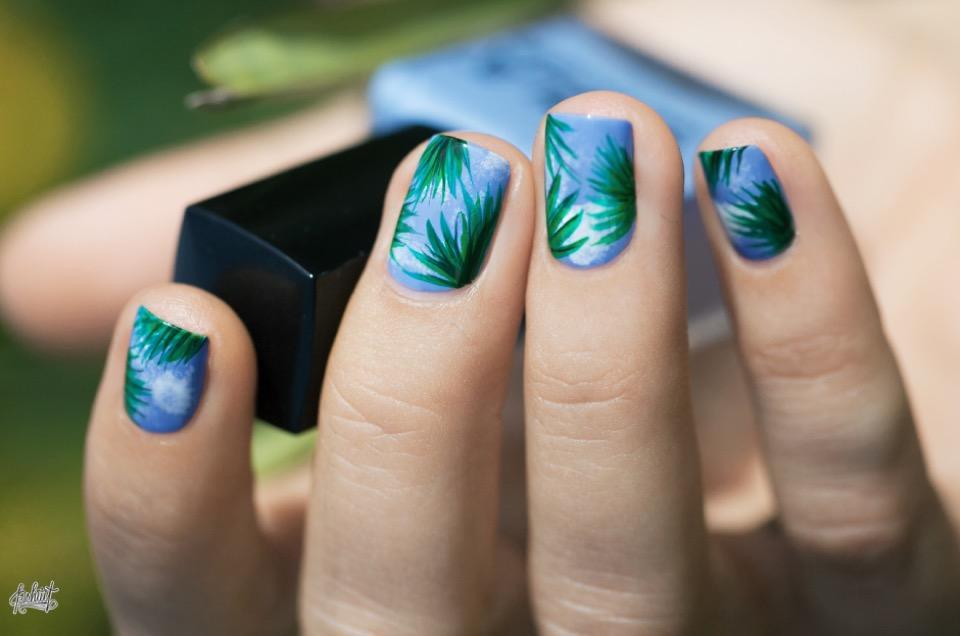
It’s been a while since we published something about nail art and even though you may tell us that is not something that you can do when you are kiting all the time, we couldn’t ignored this tutorial which is just so cool.

The tutorial is one of the collection from Pshiiit (of course) and is going to be perfect for this summer.
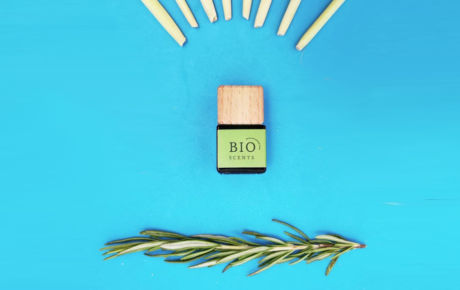
What to use?
Easy, one blue light nail polish, one white, and three acrylic paints (green, yellow and black) + tweezers + a little piece of sponge + a little brush.
What to do.
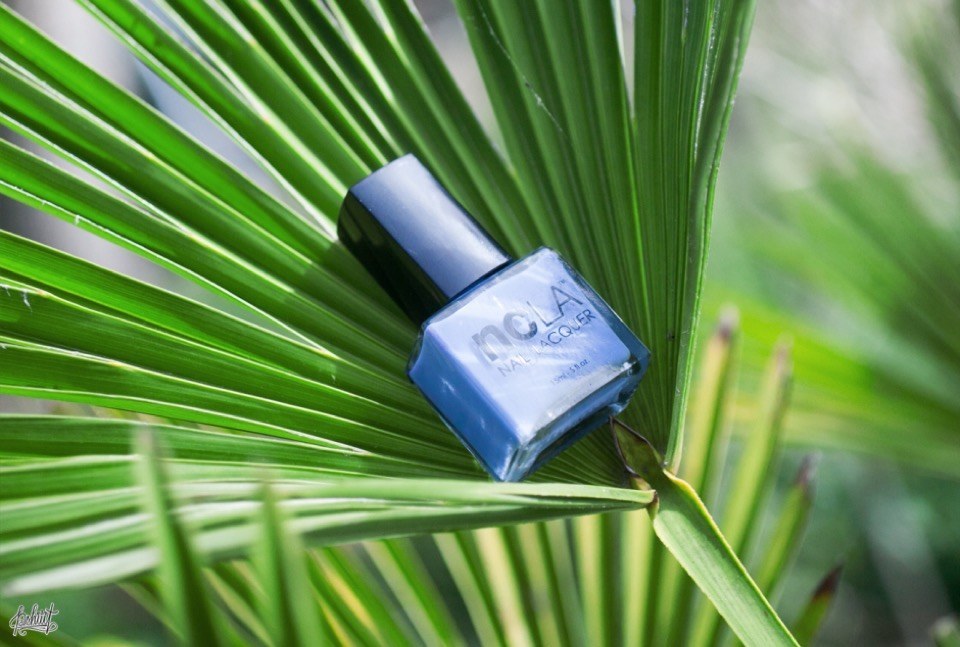
1) Apply one coat of blue
2) Use your tweezer and the piece of sponge to make little clouds by dipping the sponge in the white polish and dabbing it on your nail. Use the tweezer to crab the sponge and to keep your nail art clean.
3) Apply one layer of top coat.
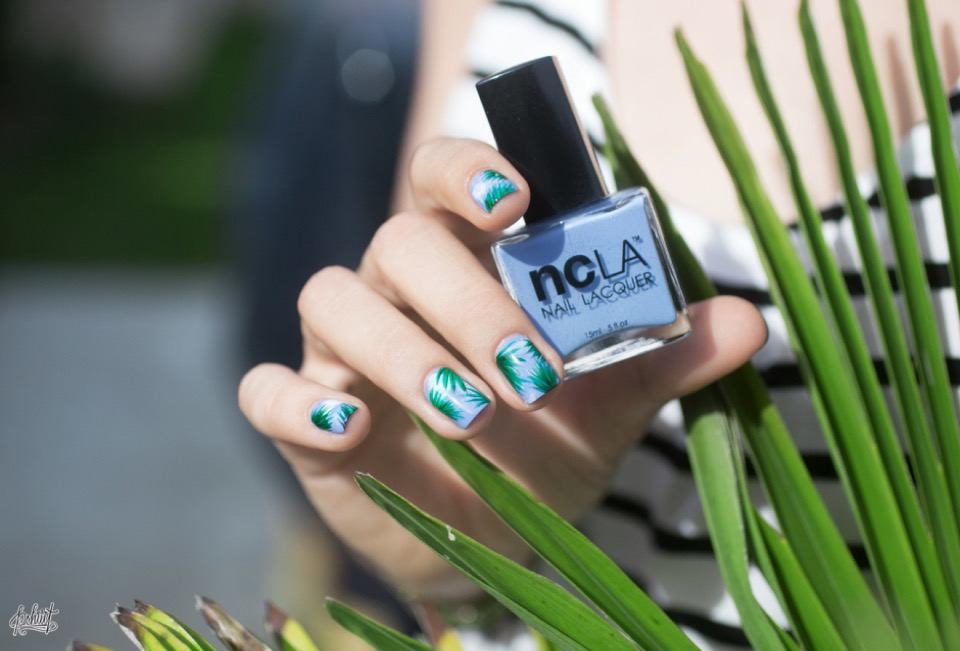
4) Draw the leaves of the palm tree by using the brush and apply the green first, then the yellow and finally the black.
5) Apply a final layer of top coat and then you’re done!
Follow Pshiiit on Facebook at Pshiiitpolish.